
Amplify Your Audio Blends with These Mixing Console Techniques
In the realm of audio production, maintaining a high-quality sound is of utmost importance. Whether you're recording music or mixing live sound, a well-equipped mixing desk can make all the difference. Here's a comprehensive guide on setting up and using a mixing desk for professional-sounding audio mixes.
Preparing Your Equipment
Assemble your gear, including a mixer (analog or digital), microphones or audio sources, headphones, speakers or monitors, and necessary cables. For digital mixers, connect the mixer to a computer if recording is involved, using USB or Ethernet cables and install any needed drivers.
Connecting Inputs
Plug microphones or instruments into the mixer channels. Identify the microphone types because this affects gain and phantom power settings. Dynamic mics need more preamp gain and no phantom power, condenser mics need phantom power and moderate gain, lavaliers vary.
Setting Channel Gains
Start with fader levels down and the channel gain knob set low. Gradually increase the gain while monitoring level meters to avoid clipping or distortion. The goal is a clean, strong input signal.
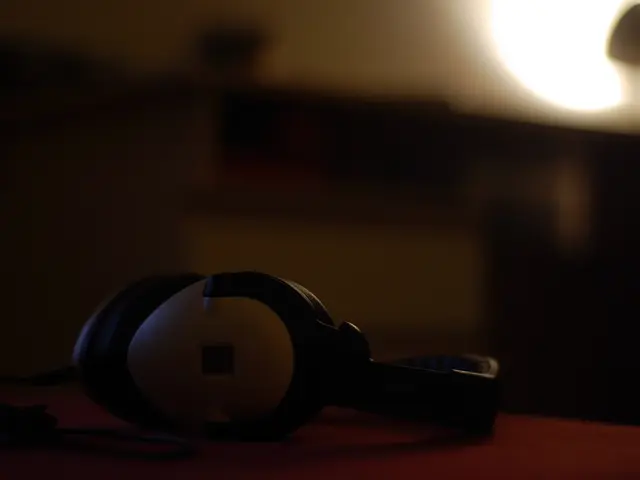
Using Headphones to Cue and Monitor
Use the headphone cue system to listen to and prepare audio channels individually without affecting the main mix. This helps with beatmatching or balancing channels before bringing them into the mix.
Adjusting Equalization (EQ)
Shape the tone of each channel by using the EQ controls to boost or cut frequencies. This helps each sound sit well in the overall mix and reduces unwanted resonances.
Balancing Channel Levels with Faders
Raise or lower each channel’s volume fader to create a balanced mix. Start with rough volume balances, then refine by listening on monitors or speakers.
Adding Effects and Processing
Use built-in effects or external processors like reverb, delay, or compression to enhance the mix, but use them subtly to maintain clarity and professionalism.
Using Mix Buses and Aux Sends
For monitoring setups (like in-ear monitors) or creating sub-mixes, use auxiliary sends and buses. Adjust these carefully to control separate mixes in live workflows.
Recording or Outputting Mix
If capturing the audio, ensure your DAW is set up to receive the multi-track or stereo output from the mixer. For live sound, confirm the main outputs go to the PA speakers or recording device.
Monitoring and Making Final Adjustments
Continuously monitor the overall sound through speakers and headphones, making adjustments to EQ, volume, and effects to maintain clarity, balance, and dynamics throughout the session.
Following these steps helps ensure a clear, well-balanced, and professional audio mix whether for live performance or recording. To achieve the best sound quality, initially focus on gain staging, speaker placement, and room acoustics. Using a condenser mic for vocals and instruments, ensuring that it has phantom power if needed, is also crucial.
In dynamic environments like live performances, app-based control in digital mixers can simplify tasks. Automation becomes more refined with DAW integration, as complex mixes that change over time can be incorporated. Taking care of audio equipment involves regular maintenance and prompt troubleshooting to ensure optimal performance and longevity.
For a DIY improvement approach, start by assessing your current setup. Soundproofing your room can drastically improve audio quality. Install absorption panels on the walls at reflection points to enhance clarity in a studio. Bass traps in the corners can reduce low-frequency buildup, and positioning microphones away from walls and corners can improve audio quality.
In a church setting, prioritize vocal clarity, as the spoken word is often central. Use strategic microphone placement to reduce feedback and adjust EQ settings for better acoustics. Most digital mixers support integration with DAWs, allowing seamless transfer of audio and control data.
To manage monitor and front-of-house mixes effectively, communicate with musicians to understand what they need in their monitors. A well-organized setup is vital for high-quality recording, starting by choosing an appropriate room for recording that provides enough space without being overly cramped.
When selecting a mixing desk, look for features that align with your production needs, such as EQ controls, built-in effects, and multiple channels. When it comes to capturing and mixing live sound, it's essential to focus on creating a balanced mix that caters to both the performers on stage and the audience.
Combining a DAW with a digital mixer offers real-time control over recorded tracks and live inputs. To create a professional and efficient studio environment, focus on both acoustic treatment and proper setup for recording with microphones. Position studio monitors to form an equilateral triangle with the listening position for reliable monitoring. The ability to save presets is valuable in digital mixers, as it allows for easy recall of complex setups.
Using plugins directly from a DAW on channels of a mixing desk enables the utilization of powerful digital effects and processing chains. Channel strips in digital mixers allow management of individual channels and can be customized with effects and EQ settings. Cable management is equally important, as tangled or damaged cables can significantly affect the quality of audio signals.
Common audio issues include unwanted background noise, crackling, or distortion in audio signals. You can often isolate these issues by systematically checking connections and ensuring that all cables are seated properly. Keeping your audio equipment clean is crucial in ensuring seamless performance.
In summary, a well-equipped mixing desk, combined with a proper setup and maintenance routine, can help you achieve professional-sounding audio mixes for both live performances and recordings.
- A high-quality music mix can significantly enhance audio production, whether it's for recording or live sound performance.
- For a well-equipped mixing desk setup, gather necessary equipment such as a mixer, microphones, headphones, speakers, and cables.
- When using a digital mixer, connect it to your computer for recording purposes using USB or Ethernet cables and install any required drivers.
- In a home studio, use absorption panels on walls and bass traps in corners for better sound quality and clarity.
- When recording vocals, use a condenser mic that requires phantom power for accurate and clear sound reproduction.
- In a live performance setting, employ app-based control for digital mixers to simplify tasks and optimize automation.
- To create a professional studio environment, focus on acoustic treatment, proper microphone setup, efficient cable management, and the use of plugins for powerful digital effects and processing chains.


