
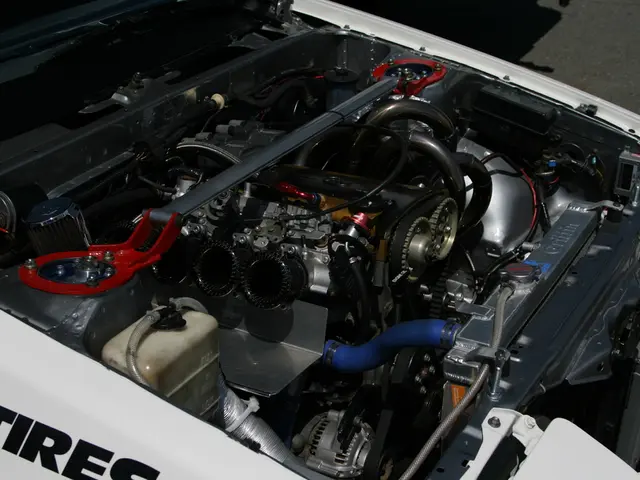
Despite passing the one-year mark, the modified SSD for the Steam Deck continues to quell my ongoing envy for a cutting-edge gaming handheld device
If you're looking to enhance the performance of your Steam Deck, upgrading the SSD is a great way to achieve faster load times and increased storage capacity. Here's a simple, step-by-step guide to help you with the process.
Preparation
Before you begin, gather the necessary tools and prepare your workspace:
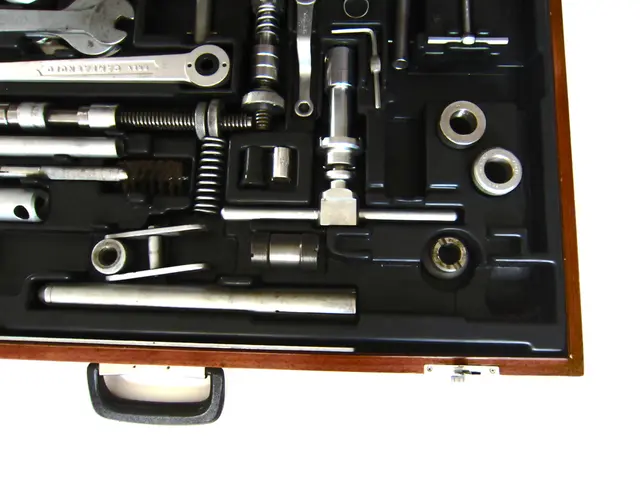
- Gather tools: You'll need a suitable Torx screwdriver (usually T5 or T6) and an anti-static surface to work on. Consider wearing an anti-static wrist strap to prevent damage from electrostatic discharge.
Powering Off and Disassembly
- Power off the device: Completely power down the Steam Deck.
- Open the Steam Deck: Remove the back cover screws and gently open the case.
- Disconnect the battery: Locate the battery connector and carefully disconnect it to avoid damage.
Removing and Installing the SSD
- Remove the existing SSD: Unscrew the short mounting screw, grip the edge of the SSD, and pull it out gently from the M.2 connector.
- Prepare the new SSD: Remove the existing ESD shielding foil from the old SSD and transfer it to the replacement SSD. Attach the shielding foil snugly onto the new SSD.
- Insert and secure the new SSD: Insert the new SSD into the M.2 2230 slot at an angle, then press it down carefully. Secure it by reinstalling the short mounting screw.
Reassembly and System Restoration
- Reconnect the battery and close the case: Reconnect the battery carefully and replace the back cover, screwing it securely.
- Initialize and restore the system: You will need to reinstall or clone your Steam Deck system to the new SSD. Cloning tools like Clonezilla can be used to copy your data and system from your old SSD to the new one.
Important Considerations
- The Steam Deck supports single-sided M.2 2230 SSDs only. Using thicker or double-sided drives will not fit properly.
- The device’s SSD supports PCIe Gen 3 x4 speeds, so even PCIe Gen 4 SSDs will run at Gen 3 speeds.
- Installing without a heatsink is common for the Steam Deck SSD; just ensure the shielding foil is intact to help manage heat.
- If you're not confident in disassembling your Steam Deck, consider professional help, as wrong handling can damage the device.
By following these steps and using the correct tools, you can safely upgrade your Steam Deck's SSD for enhanced storage and faster load times.
[1]: Source: Valve's official Steam Deck documentation [2]: Source: TechRadar's Steam Deck SSD upgrade guide [3]: Source: Tom's Hardware's Steam Deck SSD upgrade guide [4]: Source: PC Gamer's Steam Deck SSD upgrade guide [5]: Source: How-To Geek's Steam Deck SSD upgrade guide
- For improved gaming experiences on your Xbox console, consider investing in quality gaming accessories such as controllers or high-definition TVs to elevate your setup.
- Check out the latest technology news and gadgets to find the perfect hardware deals that can help you build an immersive gaming environment.
- With a larger storage capacity on your Steam Deck SSD, you can play more action-packed games without worrying about running out of space.
- If you're contemplating upgrading your controller for even better performance, consider shopping for a new gaming controller that offers greater precision, customization, and comfort.
- When searching for the best deals on gaming consoles, don't forget to watch for discounts on popular brands like Nintendo Switch or PlayStation.
- Keep up with the latest industry news to stay informed about advancements in technology and discover future gaming console deals that can introduce you to new gaming experiences.
- As you consider the various ways to enhance your gaming setups, remember that every upgrade, from accessories to SSDs, can lead to a more enjoyable and immersive gaming experience.

