
Speaker Recone Analysis: Pros, Cons, and Crucial Points of Consideration
In the world of audio equipment, speakers are essential components that require regular maintenance and, at times, repair. One such repair method is reconing, a process that involves replacing damaged or worn-out parts of a speaker to restore its original sound and performance. This article will provide a comprehensive guide on reconing a 12K5-6 speaker, detailing the steps involved, benefits, and potential challenges.
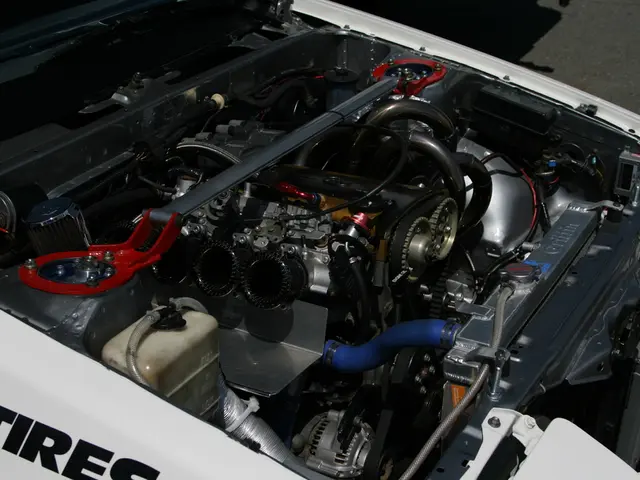
Process of Reconing a 12K5-6 Speaker
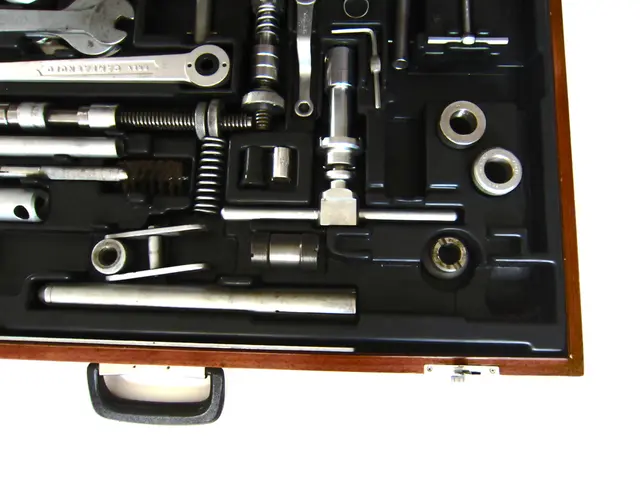
Before diving into the process, it is essential to gather the necessary tools and a suitable recone kit. Here's a step-by-step guide to reconing a 12K5-6 speaker:
- Preparation: Gather screwdrivers, pliers, adhesive (speaker glue), a soldering iron (if needed), a clean workspace, and a recone kit or compatible replacement parts.
- Disassembly: Remove the speaker from its enclosure, detach the speaker grille (if present), carefully remove the speaker frame screws, and note the wiring connections.
- Remove the old cone assembly: Cut away and remove the old foam or rubber surround, detach the cone from the speaker basket/frame, desolder or disconnect the voice coil wires from the terminals, and remove the old spider.
- Clean the frame: Remove all residual adhesive, foam, and debris, ensuring the frame and magnet gap are clean and free of debris.
- Install the new voice coil (if part of the recone kit): Place the new voice coil in the magnet gap carefully, checking for correct height and centering to avoid rubbing.
- Attach the new spider and cone assembly: Use the supplied adhesive to glue the new spider to the frame, install and glue the new cone assembly, and attach the new surround, ensuring even spacing.
- Reconnect wiring: Solder the voice coil leads to the terminals, checking all connections are secure.
- Final assembly and testing: Mount the dust cap if needed, reinstall the speaker screws, check the cone movement is smooth, test the reconed speaker with low volume, and make sure there is no rubbing and sound is clean. If all good, reinstall the speaker into its enclosure.
Pros of Reconing a 12K5-6 Speaker
Reconing offers several benefits, making it a popular choice for audio enthusiasts:
- Cost-effective: Generally costs less than buying a brand new speaker.
- Restores original sound quality: Maintains the speaker's original voice coil and magnet, preserving its tonal characteristics.
- Environmentally friendly: Extends the life of the original speaker, reducing electronic waste.
- Customization: Allows for upgrades if better parts are used in the recone kit.
Cons of Reconing a 12K5-6 Speaker
While reconing has numerous advantages, it also comes with potential drawbacks:
- Requires skill and tools: The process can be intricate and time-consuming, especially aligning the voice coil properly.
- Risk of damage: Improper reconing can damage the magnet gap, voice coil, or result in poor sound performance.
- No guarantee of full restoration: If other parts like the magnet or frame are damaged, reconing alone may not fix all issues.
- Availability of parts: Finding an exact recone kit for the 12K5-6 might be challenging, as it is a vintage speaker.
- Time-consuming: Can take several hours to complete properly.
If you are inexperienced, professional reconing services are recommended to ensure the speaker performs reliably after restoration.
In conclusion, reconing a 12K5-6 speaker offers significant benefits for extending the life of audio equipment, but it's essential to weigh the potential risks such as the need for specialized expertise and the possibility of inconsistent results. By following the steps outlined in this guide and understanding the benefits and drawbacks, you can successfully recone your 12K5-6 speaker and enjoy improved audio performance.
- The process of reconing a 12K5-6 speaker, as detailed in this guide, highlights the importance of technology in audio equipment repair, as it involves soldiering and the use of tools like screwdrivers, pliers, and a soldering iron.
- For those who prefer not to compromise on sound quality, the use of gadgets like speakers can be essential, and reconing a 12K5-6 speaker can help maintain their original performance, thus contributing to the preservation and enjoyment of vintage technology.

